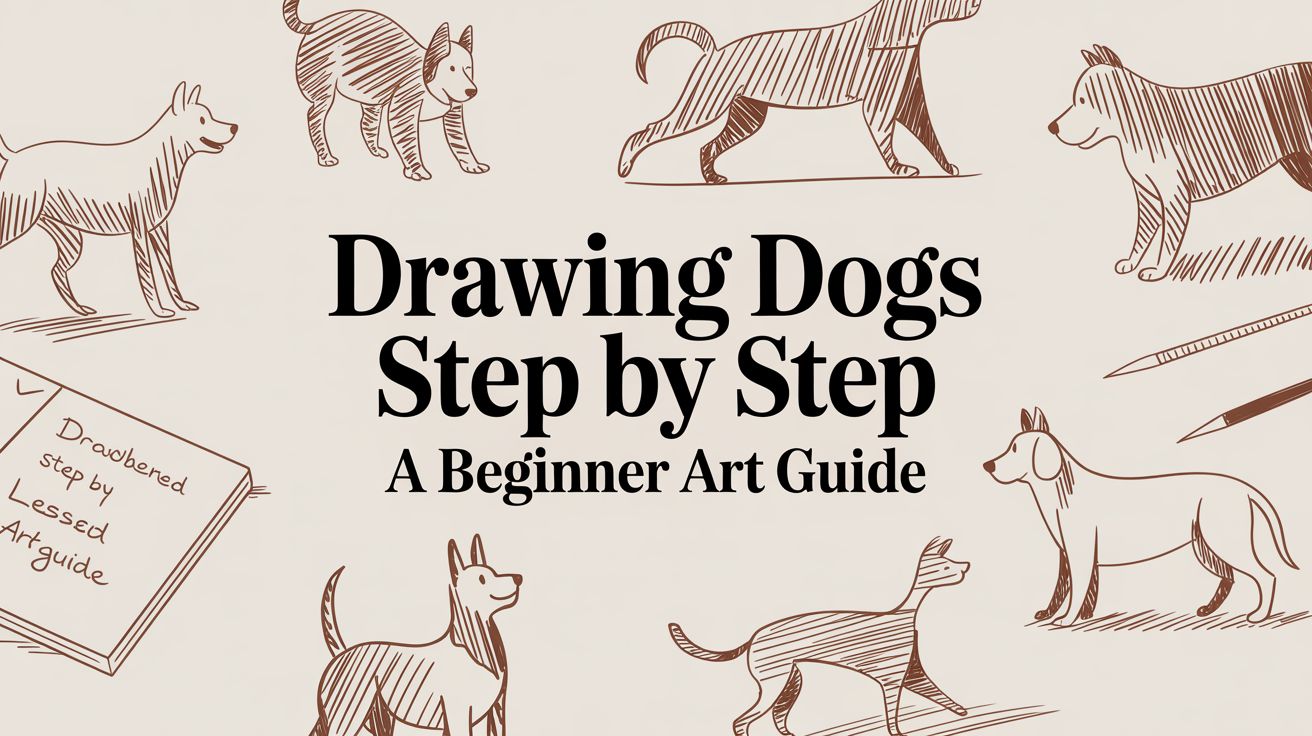
Ready to capture your furry best friend on paper? It’s a lot easier than you might think. The secret isn't some hidden artistic talent—it's just about seeing your dog as a collection of simple shapes, like circles and ovals. From that simple starting point, we'll connect the dots, clean up the lines, and add all those little details that make your dog, well, your dog.
Your First Wagging Tail: A Friendly Start to Drawing
Welcome to SetterFren! If you've ever found yourself staring at a blank page, feeling a little intimidated, you're in the right place. We believe life’s better with a wagging tail and a good book, and drawing your pup is a perfect way to celebrate that bond. We're going to break down how to draw a dog in a way that’s relaxing and, most importantly, fun. Think of this as a perfect way to spend an afternoon—just you, a sketchbook, maybe a warm drink, and your favorite pup snoozing at your feet.
You really don't need a professional art studio or years of training to get started. All it takes is a love for dogs and a bit of patience. Honestly, it’s a lot like learning how to care for a new puppy; breaking a big, intimidating task into small, simple steps is the key to success.
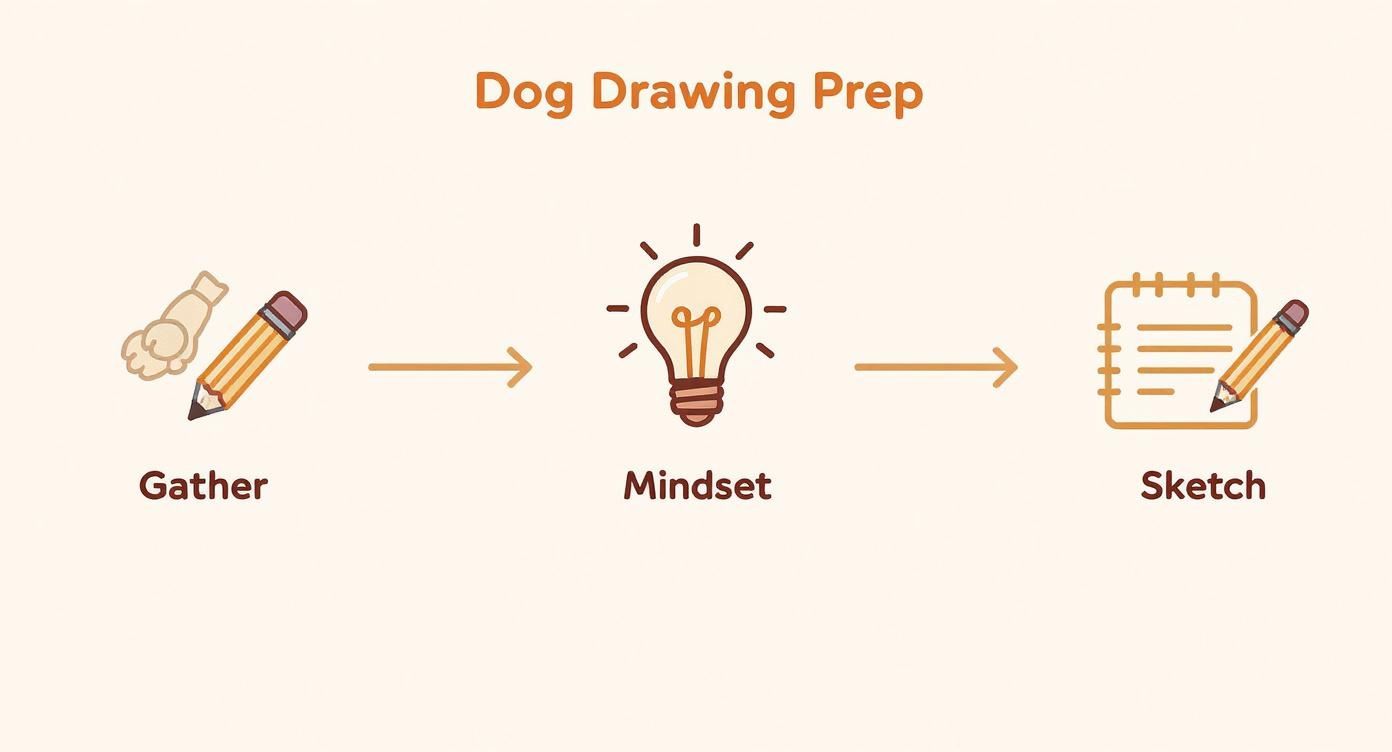
Getting in the Right Mindset
Let's get one thing straight: the goal here is joy, not a perfect masterpiece. Every single artist started with a first drawing, and today is your day. Let's get you set up to sketch with confidence and have a great time doing it.
- Embrace the process. This isn't a test. It's quality time spent appreciating your best friend.
- Observe with love. Really look at the little things—the way an ear flops, how a tail curls, or that goofy look they get. Those are the details that bring a drawing to life.
- Start simple. You don't need a ton of fancy gear. We'll go over the basics, and you probably have most of them lying around your house already.
Drawing dogs has become incredibly popular, especially as digital tools have made art more accessible for everyone. If you look at tutorials on platforms like CLIP STUDIO PAINT, you'll see a common theme: they almost always start by blocking out the head, body, and paws with basic circles and ovals. It’s a fantastic trick that simplifies the whole process right from the start.
Your Dog Drawing Starter Kit
Before you put pencil to paper, let's gather a few things. Here’s a quick rundown of what you’ll need to get going.
| Tool | Why You Need It | Pro Tip |
|---|---|---|
| Pencil (HB or #2) | Perfect for light initial sketches that are easy to erase. | Keep it sharp! A dull point can lead to muddy lines. |
| Good Eraser | A kneaded eraser is great because it won't tear your paper. | Warm it up in your hand first to make it more pliable. |
| Sketchbook/Paper | Any paper works, but a dedicated sketchbook keeps your art in one place. | Choose paper with a bit of "tooth" (texture) to grab the graphite better. |
| Fine-Liner Pen | (Optional) Use this to go over your final pencil lines for a clean look. | Let the pencil sketch be your guide, but don't be afraid to be a little loose. |
| Colored Pencils | (Optional) Perfect for adding a splash of color and personality at the end. | Start with light layers and build up the color gradually. |
Having these tools ready will make the whole experience smoother and let you focus on the fun part—the drawing itself.
Building Your Pup From Simple Shapes
Every great drawing starts not with the details, but with big, simple shapes. Forget the fur, the wet nose, or that soulful look in their eyes for a minute. Right now, your pencil is your main tool. We're going to block out the basic form of your dog using circles and ovals. Trust us, this is the secret sauce to getting a believable sketch.
Don't get hung up on the breed just yet. It doesn't matter if you're drawing a lanky Greyhound or a stocky Bulldog—the starting point is always the same. Lightly sketch a circle for the head, then a slightly larger oval for the chest. Tuck another oval behind that for the hips. This is your foundation, and getting it right now will save you a world of frustration later.
From Shapes to Skeleton
With those main shapes on the page, it's time to connect them. A couple of simple, curving lines will create the spine and the belly. These lines are powerful; they instantly give your dog a pose. Is it standing tall? Curled up for a nap? This is where you decide.
Next, use simple straight lines to map out the legs and tail. Adding little circles where the joints will be—the shoulders, elbows, knees, and ankles—helps visualize how the legs will bend.
The goal here isn't perfection; it's proportion. Take a step back and look at your shapes. Does the head feel too big for the body? Are the legs long enough? This is your chance to make big changes easily before you’ve invested too much time.
This initial process—grabbing your tools, taking a deep breath, and laying down these first foundational shapes—is what sets you up for a drawing you'll be proud of.
Remember, the sketching itself is just one piece of the puzzle. Getting into a relaxed headspace and having your favorite pencil ready makes all the difference. Keep these initial lines incredibly light. Think of them as whispers or suggestions. You'll be erasing and refining them as you go, so don't press down hard.
Capturing Canine Character and Anatomy
Alright, you've got your basic shapes roughed in. Now for the fun part—connecting those shapes and starting to breathe some life and personality into your drawing. This is where a little bit of canine anatomy knowledge goes a long, long way. Don't worry, you don't need a biology textbook! We're just talking about the simple stuff that makes a drawing pop.
Right now, you probably have a collection of circles and ovals. The goal here is to transform that jumble of shapes into something that actually looks like a dog. We’ll be shaping the muzzle, figuring out the right spot for the ears, and adding a nice, natural curve to the spine. It’s all about turning those light, sketchy guidelines into a more confident and defined outline.
From Sketch to Structure
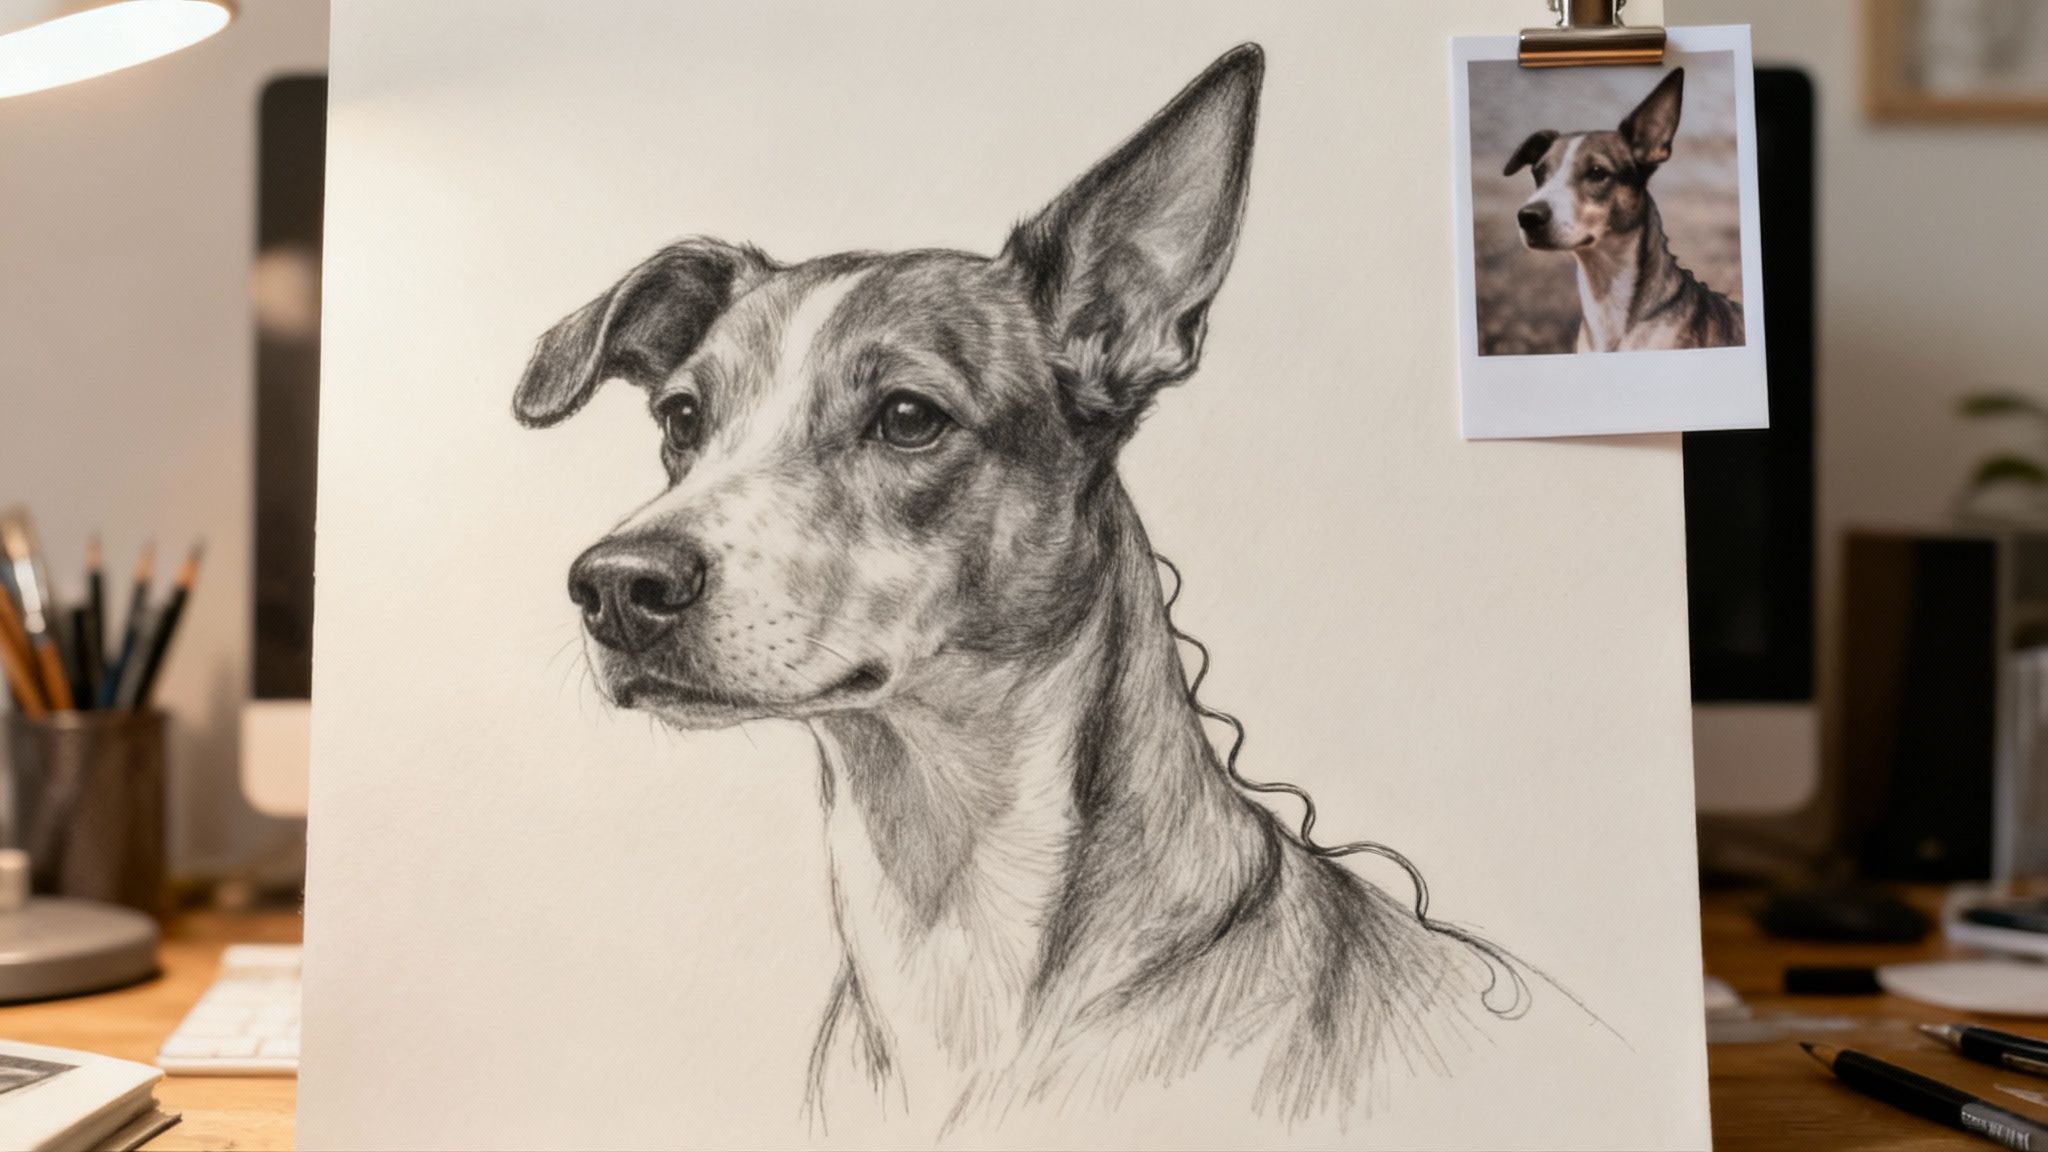
Think of your initial sketch as the blueprint. Now, it's time to build the frame. This is where you’ll define the key features that really make a dog look like a dog. The best tool you have at this stage is a good reference photo. Go ahead, snap a picture of your own pup, or just find one online that you like.
Watching real dogs is the secret to capturing their little quirks. Keep an eye out for these specific details as you draw:
- The Muzzle: Is it long and pointy like a Collie's, or is it short and smushed like a Pug's? You'll want to connect the main circle for the head to a smaller shape to form the snout.
- The Ears: Where do they actually attach to the head? Are they pricked up and alert, or are they long, floppy, and relaxed? Getting the ear placement right is one of the fastest ways to add a ton of character.
- The Spine: A dog’s back is almost never a perfectly straight line. You'll want to add a gentle curve from the neck down to the tail. This one simple change can give your drawing a sense of movement and energy.
This is your chance to bring your dog's unique spirit to the page. Pay attention to how your own dog holds their head when they're curious or the specific way their tail wags when they're excited. These tiny observations are what make a drawing feel truly personal and authentic.
Taking the time to learn this stuff while drawing dogs step by step is a fantastic way to level up your skills. Ask any seasoned artist, and they'll tell you that understanding a bit of anatomy is a game-changer. Some great art lessons, like those you might find on the Drawing Academy's website covering how to draw dogs, even have you practice drawing from memory to really internalize these shapes.
Even the simplest drawing can say so much about a dog’s personality. Getting these anatomical details right is a bit like understanding the finer points of puppy socialization and behavior—all the small things add up to make a huge impact.
Adding the Details That Bring Your Dog to Life
Alright, you've got the basic structure down. Now for the fun part! This is where your drawing stops being just a collection of shapes and starts to feel like a real, living, breathing pup. We're going to layer in the details that give your dog its unique personality.
The eyes, nose, and mouth are where all the character lives. A simple curve can make the difference between a happy grin and a pensive look, so really take your time here. Adding a tiny, bright highlight in each eye is a simple trick that instantly makes them look wet and full of life.
Creating a Realistic Coat
Let's talk fur. A dog's coat tells a story. Is it the short, sleek fur of a Boxer, or the wild, scruffy look of a terrier? It all comes down to the direction and length of your pencil strokes.
- For short fur: Think in short, quick strokes that hug the contours of the body. It’s almost like shading, but you're using tiny, intentional lines instead of smudging.
- For long, flowing fur: This is all about layering. Use longer, curved lines that overlap one another. You can build up a real sense of depth and fluffiness by making some lines darker to show where shadows would naturally fall within the coat.
Getting the look of a well-cared-for coat can be a challenge, but it's one of those details that really pays off. If you need some inspiration for different coat types, our guide on grooming tips to get your pet ready for spring has some great examples that might spark an idea.
Pro Tip: Resist the urge to draw every single hair. Your goal is to suggest texture, not perfectly replicate it. Focus on creating clumps and patterns of fur for a much more natural, less overworked feel.
The connection we have with our pets is incredibly deep, which is why dog-themed art has become so popular. With over 70 million households in the U.S. owning a pet, it's easy to see why so many people want to capture their furry friends on paper. It's that emotional bond that really drives us as artists. You can read more about drawing popular pets on xp-pen.com.
Grounding Your Pup
Last but not least, let's look at the paws and tail. Paws need to feel like they’re actually on the ground. A good way to achieve this is to add a slight flattening at the bottom where they bear the dog's weight. A little shading underneath them also does wonders to anchor your drawing in place.
And the tail? That's pure emotion! Use a confident, sweeping line to show it wagging with excitement, or a gentle curve for a tail at rest. These are the final touches that pull everything together and make your drawing feel complete.
Bringing Your Drawing to Life with Finishing Touches
Alright, you've laid down the foundation, sketched out the features, and captured the essence of your canine friend. Now for the fun part—making your artwork truly pop off the page! This is where we add those final details that transform a good sketch into a great one. We're talking about shading, depth, and clean, confident lines.
First things first, let's think about light. Where is it coming from? Imagine a lightbulb hanging just out of frame. The side of the dog facing that light will be the brightest, right? The parts tucked away from it—like the belly, the far-side legs, or under the chin—will naturally be in shadow. This simple trick is what gives your drawing that realistic, three-dimensional feel.
Building Depth Through Shading
With your light source in mind, you can start building up shadows. Using the side of your pencil is great for this, gently layering graphite in the areas furthest from the light.
You don't need to get fancy, but here are a few go-to techniques that work wonders:
- Hatching: Just simple, parallel lines. The closer together you draw them, the darker the shadow will appear.
- Cross-Hatching: This is just hatching on top of hatching, but in a different direction. It’s perfect for creating those really deep, dark tones.
- Smudging: You can use your finger or a blending stump to soften your pencil marks. This creates a really smooth, gentle shadow effect that's great for fur.
A little piece of advice: don't be shy with your darks! Strong contrast is what creates that sense of solidity and drama. I always start light and slowly build up the darker values—it gives you much more control.
Polishing It Up with Clean, Confident Lines
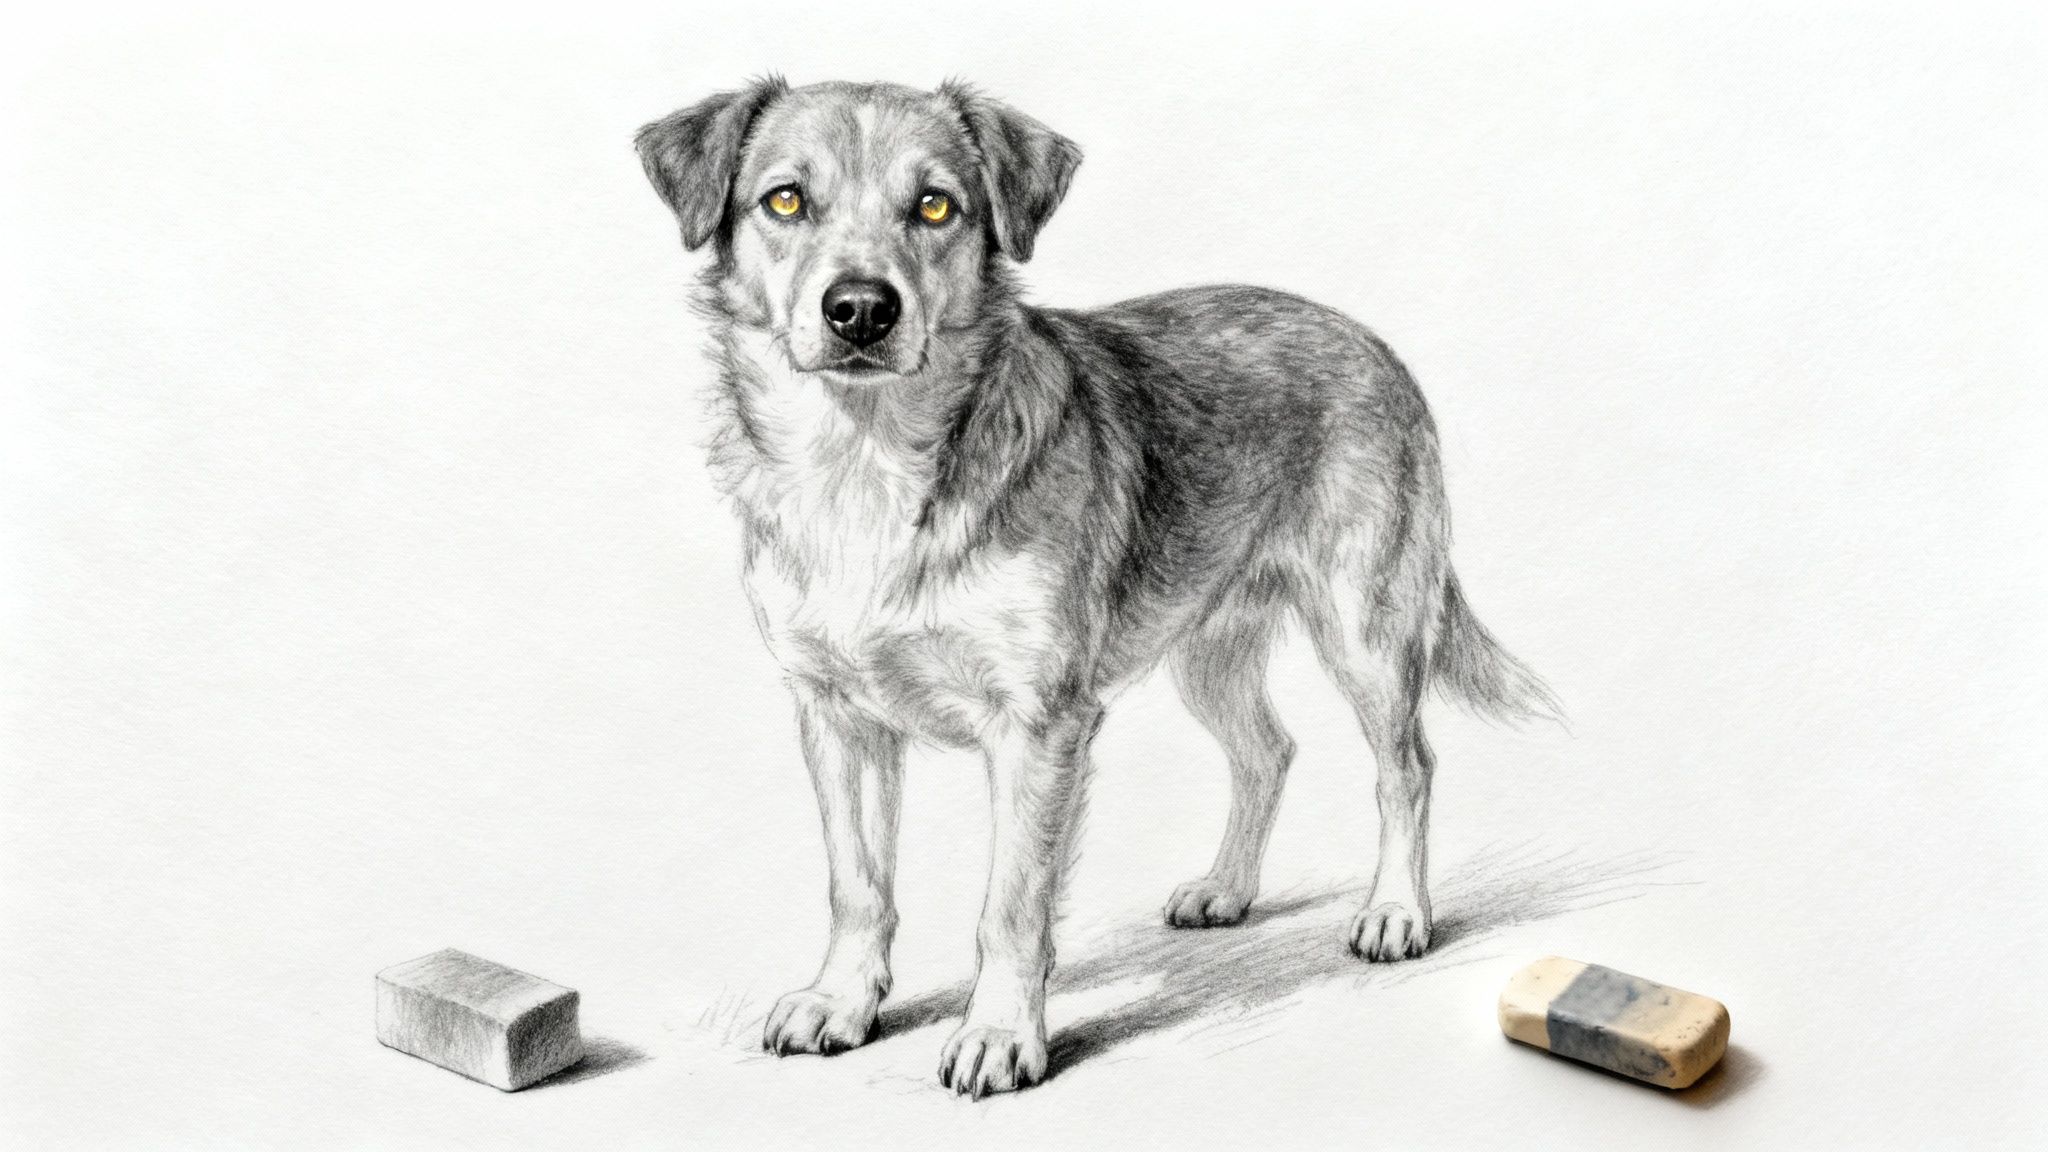
Okay, time to clean up our masterpiece. Gently erase any of those initial construction lines and stray marks you no longer need. This alone makes a huge difference.
If you want to give your drawing a really polished, finished look, consider going over your final pencil lines with a fine-liner pen. This is called inking, and it creates those bold, permanent lines that make the art stand out. It’s the final step in our drawing dogs step by step process, taking all your hard work and turning it into something you can be truly proud of.
Common Questions About Drawing Dogs
As you start getting the hang of drawing dogs, a few common questions always seem to surface. Don't sweat it—every artist runs into these same little bumps in the road! Here are some answers to those frequent hurdles to help you keep the creative juices flowing.
How Do I Get Dog Proportions Right?
Nailing proportions can feel tricky, but it really comes down to a simple trick: using a reference photo and basic shapes. Start by lightly sketching a circle for the head and a larger oval for the chest.
Think of the head as your ruler. A dog's body, from chest to rump, is usually about two or three "heads" long. Constantly flick your eyes between your reference photo and your sketch. Are the angles right? How far is the ear from the eye? Keep your initial lines super light, and you can erase and adjust until it just feels right.
What Is the Best Way to Draw Different Fur Types?
When it comes to fur, focus on two things: direction and length.
- Short, sleek fur: Use short, tight pencil strokes that follow the curve of the dog's body. Think of a German Shepherd or a Boxer.
- Long, fluffy fur: Use longer, curved, and overlapping lines to build up that sense of volume and texture. This is perfect for a Golden Retriever or a Poodle.
A little pro-tip for creating shine, especially on dark fur, is to use your eraser. After laying down some graphite, gently lift some of it out with the corner of your eraser. It creates instant highlights and makes the coat look much more realistic.
My Dog Drawings Look Stiff—How Can I Fix That?
The secret weapon against stiff, lifeless drawings is the line of action. This is just an invisible, flowing line that runs through the dog’s spine, all the way from its head to its tail. Before you even draw your first circle, try sketching a simple, fluid 'S' or 'C' shape to map out the pose.
When you build your drawing along this energetic line, you automatically avoid that rigid, "stuffed animal" look. Even a dog standing perfectly still has subtle curves that give it life and a sense of potential movement.
Ready to pair your new artistic hobby with a good book? At SetterFren, we're a cozy online community for dog lovers. We feature a curated selection of dog-themed books, honest product reviews, and practical guides like this one to help you care for your pup like a pro. Join our Puppicino Club to unlock member perks and stay part of the fun by following @setterfrens on TikTok and Instagram! Explore everything we have to offer at https://setterfren.com.