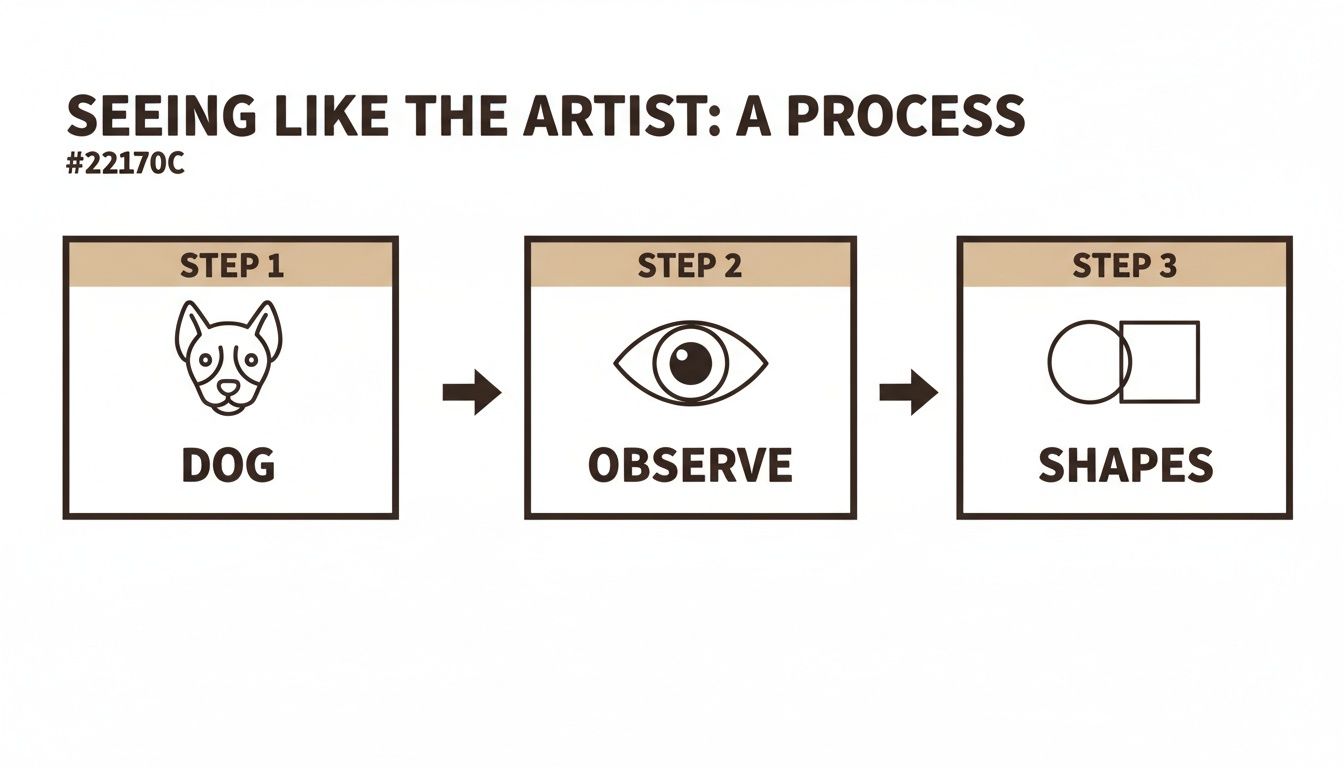
Before you even think about picking up a pencil, let’s talk about the real secret to drawing: it’s not about your hand, it’s about your eyes. The best thing you can do to improve your dog drawings is to learn how to see like an artist.
We're going to start by breaking down any dog's head into simple, basic shapes. Forget complex anatomy for now. This is the warm-up, where we train our eyes to spot the building blocks hidden in every furry face.
Seeing Like an Artist Before You Sketch
So, you want to capture that adorable dog face on paper? Fantastic! The first step is learning to see past all the fluff and personality to find the simple geometry underneath.
Whether you're looking at a big, goofy Golden Retriever or a refined Greyhound, their head is just a combination of basic forms. Our goal is to train your brain to automatically see a circle for the skull and a rectangle for the muzzle. Once you can do that, you can draw absolutely any breed.
Breaking Down the Basics
Think of it like being a detective. When you look at a dog, ask yourself a few questions. Is its skull round like a ball, or is it a bit flatter and more boxy? What about the muzzle? Is it long and pointed, almost like a cone, or is it short and squared-off?
Spotting these core shapes is the key to nailing the proportions right from the start. This isn't about memorizing rigid rules, but about developing a flexible way of observing. It’s this little shift in perspective that makes drawing feel fun and successful, rather than frustrating.
An Age-Old Practice
Artists have been drawing their canine pals for thousands of years. It's nothing new! In fact, some of the earliest known dog art dates back over 8,000 years to engravings found on a cliff in the Arabian Desert. Even then, those ancient artists were paying close attention to specific features and details.
It just goes to show that really looking at a dog’s unique structure is a timeless part of the process.
Key Takeaway: The first step to drawing any dog head is to stop seeing a "dog" and start seeing the simple geometric shapes—circles, ovals, and rectangles—that make up its structure. This observation-first approach builds a strong foundation for any drawing.
Once you start seeing these shapes, you'll also appreciate how things like a well-kept coat can help define them. For tips on keeping your real-life model looking sharp, you can check out these essential dog grooming tips you can do at home.
Building Your Dog’s Head from Simple Shapes
Alright, now that you've got your artist's eye warmed up, it's time to actually put pencil to paper. This is where the magic starts—laying down the foundation for your dog's head by piecing together some really basic shapes. We’ll walk through how to sketch both a front-on view and a three-quarter view, giving you the building blocks to draw any pup you can imagine.
Believe it or not, almost every dog head starts with a simple circle. Think of this as the main part of the skull, the cranium. Don't get hung up on making it a perfect, compass-drawn circle. A light, loose, hand-drawn circle is exactly what we're after.
Once you have your circle, lightly sketch a vertical line right down the middle. This is your centerline, and it’s a lifesaver for keeping the facial features even. Next, draw a horizontal line cutting across the middle—this will be your brow line. These two simple guides are your map for placing the eyes, nose, and muzzle correctly.
This whole process—seeing your subject, then breaking it down into simple, manageable shapes—is a fundamental skill for any artist.
It’s a fantastic way to train your brain to look past all the fur and fluff to see the solid structure underneath. Suddenly, drawing a complex subject doesn't feel so intimidating anymore.
Defining the Muzzle and Jaw
With the basic skull and guidelines in place, let's give our dog a snout. The shape of the muzzle is one of the biggest things that makes a dog breed look unique. It's what makes a Pug look like a Pug and not a Greyhound!
- For a Bulldog or Pug: Attach a short, boxy rectangle to the lower half of your main circle.
- For a Golden Retriever or Labrador: A slightly longer, more rectangular muzzle is the perfect fit.
- For a Collie or Greyhound: You’ll want a long, tapered shape, almost like a cone, extending out from the face.
Think of it like you're a sculptor adding a block of clay to your creation. We're not worried about tiny details right now; the goal is just to get the basic form and proportions locked in. If you want more specific examples, check out our full guide on drawing all sorts of different dog breeds.
Core Shapes for Different Dog Breeds
Need a quick cheat sheet? Use this handy table to match the right foundational shapes to some of our favorite dog breeds.
| Dog Breed | Muzzle Shape | Ear Shape |
|---|---|---|
| Pug | Short, wide rectangle | Small, folded triangles ("rose" or "button" ears) |
| German Shepherd | Long, tapered rectangle | Large, upright triangles |
| Beagle | Medium, rounded rectangle | Long, floppy U-shapes |
| Dachshund | Long, narrow cone | Very long, floppy, and rounded U-shapes |
| Labrador | Medium-to-long blocky rectangle | Dropped, triangular flaps |
Remember, this is just a starting point! Every dog is an individual, so feel free to adjust these shapes to capture their unique look.
Placing the Ears Correctly
Last but not least, let's add some ears. The placement and shape of the ears can completely change a dog's expression and are a dead giveaway for the breed. Getting them in the right spot is crucial.
Pro Tip: A common beginner mistake is just sticking ears on top of the head like an afterthought. Try to think of them as connected to the sides of the skull. For most dogs, the top of the ear will line up nicely with the corner of the eye or that brow line you drew earlier.
Take a look at all the different ear types out there:
- Pointed Ears (like a German Shepherd): Start with two confident triangles on the top-sides of the head.
- Floppy Ears (like a Beagle): Draw long, rounded U-shapes that hang down from the sides of the head.
- Button Ears (like a Jack Russell Terrier): These are essentially small triangles that fold forward at the tip.
By building up your drawing with these basic forms—a circle for the skull, a block or cone for the muzzle, and simple shapes for the ears—you create a solid and believable foundation. This underlying structure is the real secret to a great drawing, giving you a perfect base to add all those fun, adorable details later on.
Adding Details That Bring Your Pup to Life
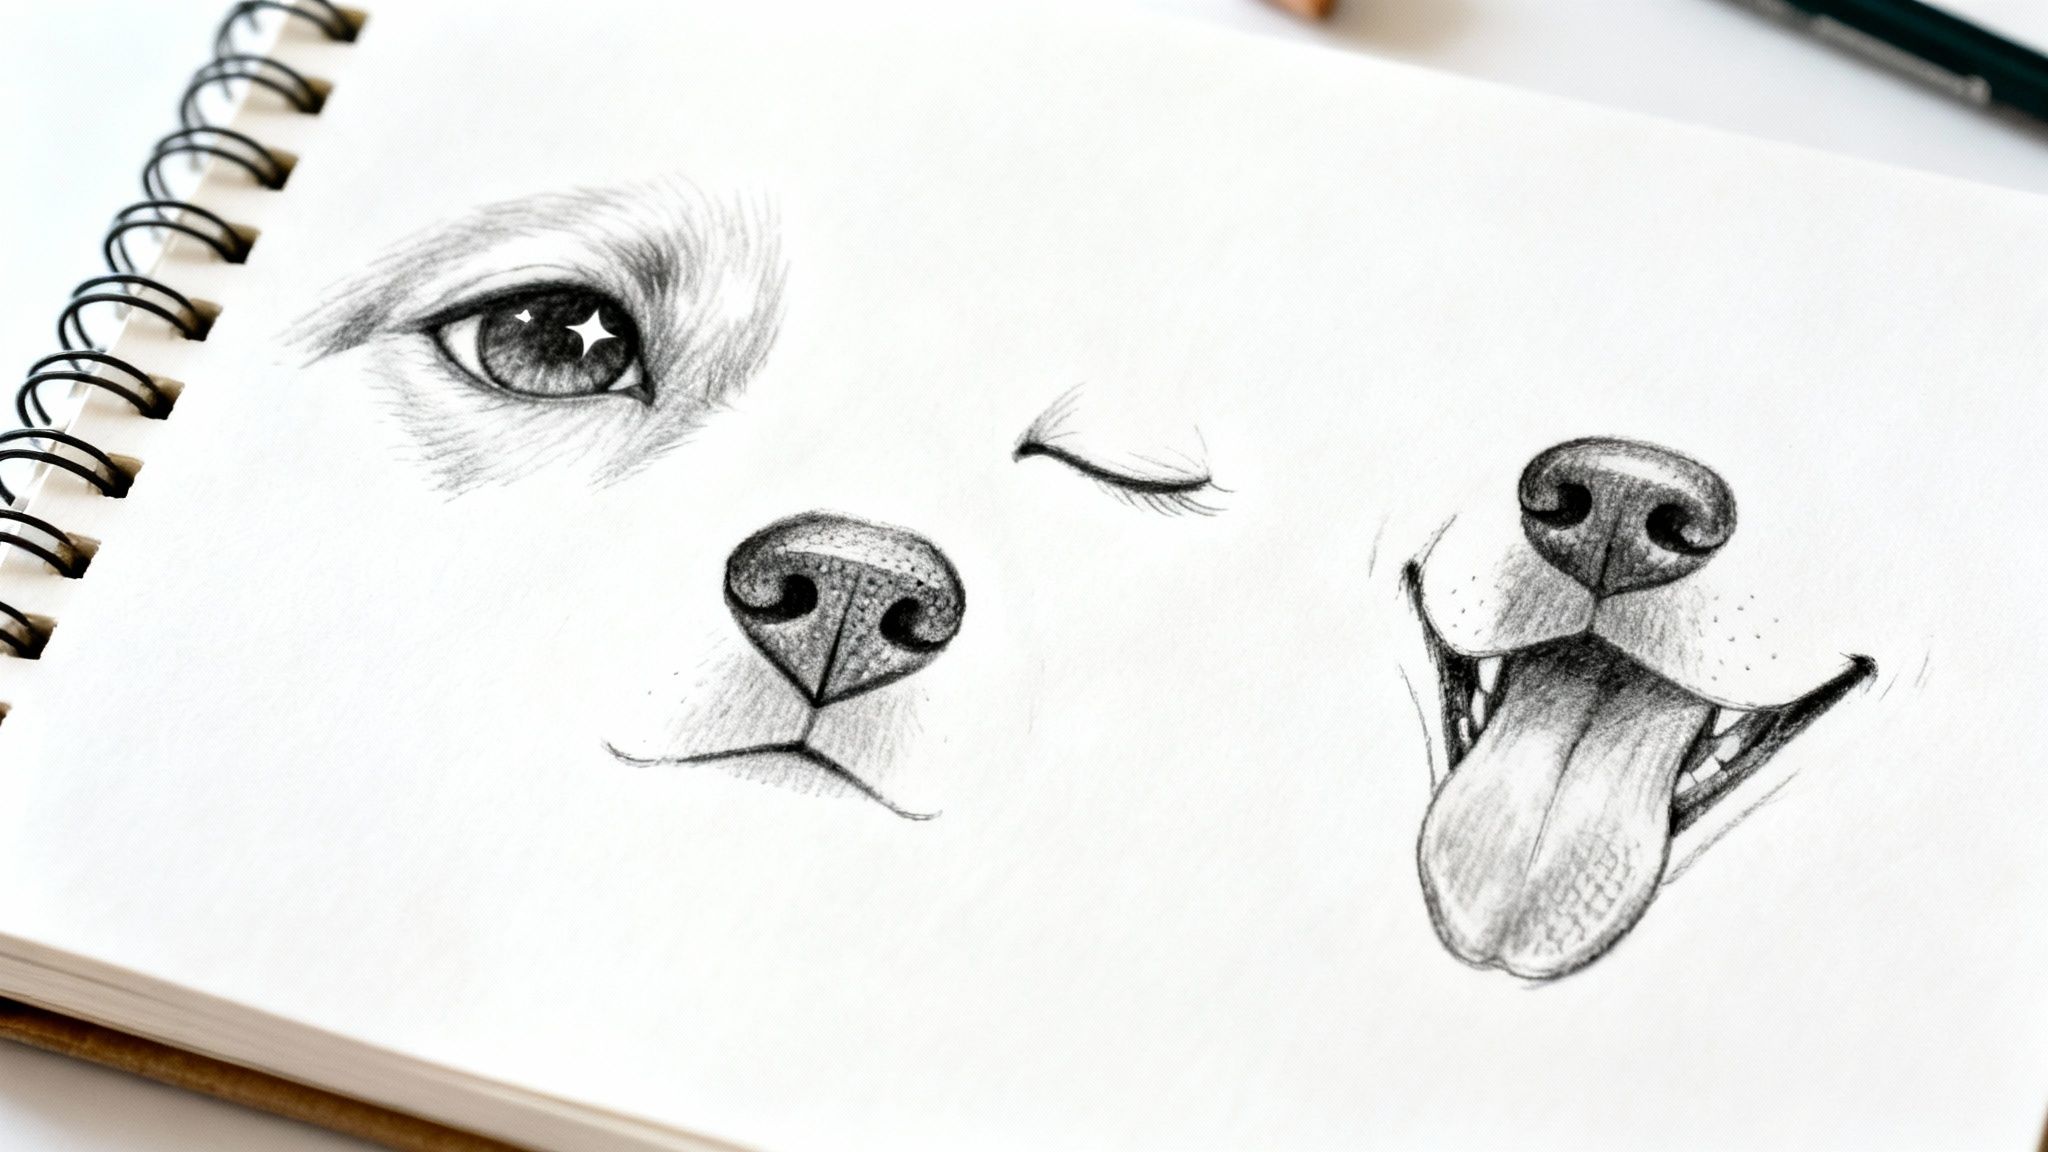
Alright, this is where the real fun begins. We’ve laid down the groundwork, but now it’s time to transform that basic head shape into a dog with some real character. The eyes, nose, and mouth are what give your drawing its soul. This is how you capture that quirky, loving, or goofy personality that makes each dog unique.
They say the eyes are the windows to the soul, and that’s never been truer than with dogs. A few small changes to the eyes can completely shift the entire mood of your drawing.
Capturing Expressive Eyes
When you're ready to place the eyes, start with a simple circle or almond shape right on that brow guideline we made earlier. But that's just the starting point! The real magic comes from the little details.
- For a curious, bright-eyed look: Give your dog big pupils and add a tiny, bright white dot in the upper corner. We call this a catchlight, and it’s the secret to making an eye look wet and alive.
- For a sleepy or relaxed pup: Let the top eyelid droop down just a bit over the eyeball, almost like a little half-moon. Instant relaxation.
- For an older, soulful dog: A few soft, gentle lines under the eye can add so much wisdom and warmth to their gaze.
And remember, eye shapes vary wildly between breeds! Think of the big, round eyes on a Pug versus the sleek, almond-shaped eyes of a Greyhound. Looking at photos really helps here.
Drawing a Convincing Dog Nose
The nose can look intimidating, but I have a simple trick that makes it way easier. Just start with a soft, slightly rounded triangle. It’s a great base to build from.
From there, you just refine it. The top of the nose usually has a gentle curve. Then, for the nostrils, carve out two C-shaped curves on the bottom sides. A little vertical line running down the middle from the bottom edge completes that classic dog-nose look. I always add a bit of shading inside the nostrils to give them some depth.
SetterFrens Tip: A dog’s nose is almost always shiny and wet. To get this effect, just leave a little sliver of unshaded white along the top curve of the nose. That tiny highlight makes the nose pop and feel so much more three-dimensional.
Fun with Mouths and Muzzles
A dog’s mouth is where so much of their emotion shows, from a goofy grin to an excited pant.
For a simple, closed-mouth expression, a soft, slightly curved line under the nose does the trick. If you want a happy, open-mouthed smile, draw a wide “J” shape that hangs just below the muzzle line. And if your dog is panting with excitement, let a big, floppy tongue hang out over the bottom teeth. This is a perfect way to inject some playful energy into your drawing.
When you focus on these small but mighty details, you're doing more than just drawing shapes. You’re telling a story and capturing a personality. You’re making a character, a true member of the pack.
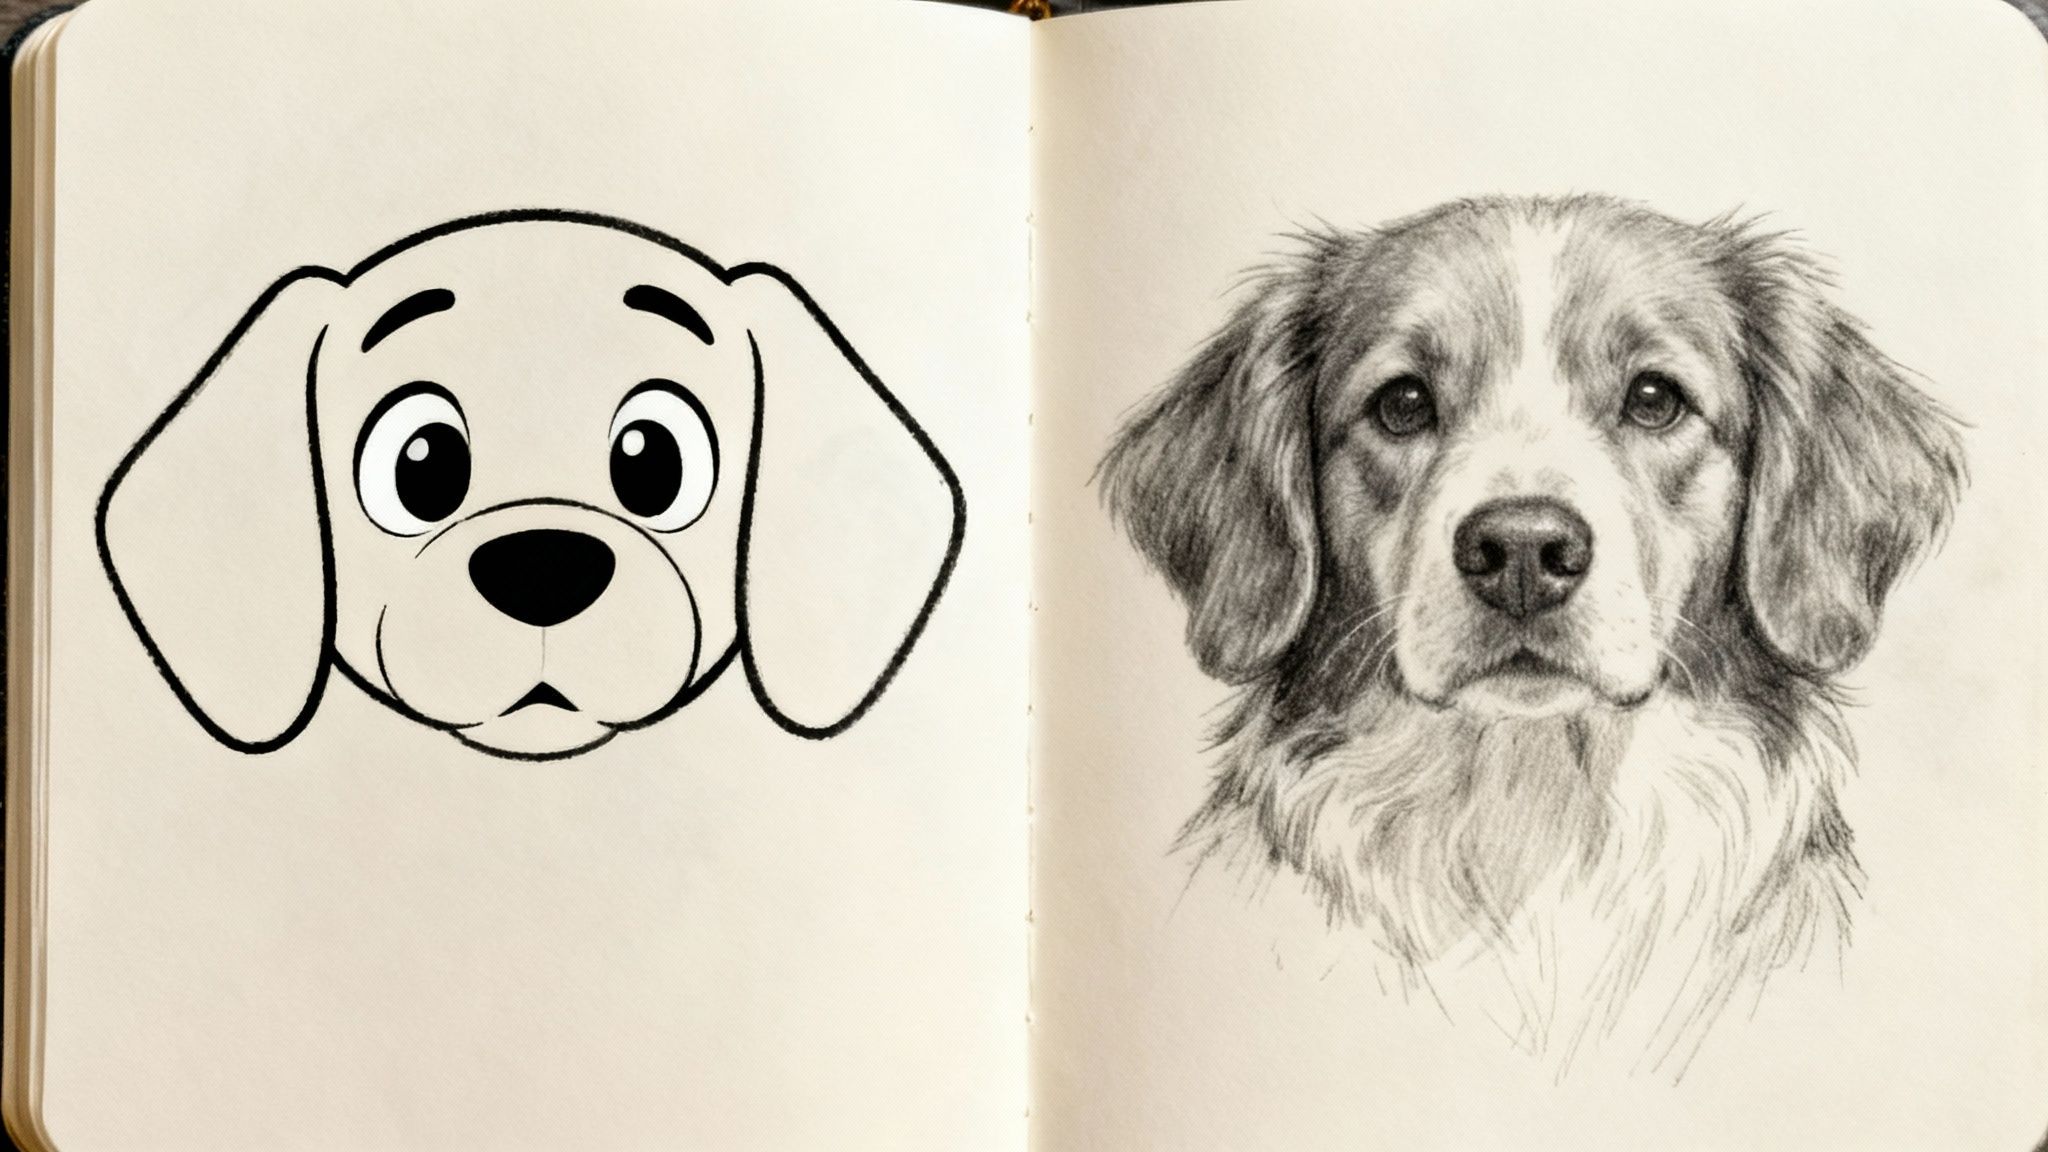
Finding Your Style: From Cartoon Pups to Realistic Portraits
Once you've got the hang of the basic head structure, the real fun begins. This is where you get to decide what kind of artist you want to be. Are you all about creating goofy, animated pups with tons of personality? Or do you prefer capturing the soulful, lifelike spirit of a dog in a realistic portrait? Honestly, there’s no wrong answer—it's all about what feels right to you.
Leaning into the Cartoon Look
Drawing a cartoon dog is all about one thing: exaggeration. You're essentially taking what makes a puppy so adorable and cranking it up to eleven. Forget perfect anatomy for a moment; the goal here is to ooze charm and emotion through simple, bold choices.
- Big, Expressive Eyes: Make those eyes way bigger than they are in real life. A couple of large, round pupils with a bright highlight can instantly give your character a curious or joyful sparkle.
- Simplified Lines: Instead of getting bogged down in every little curve of a real dog's face, smooth things out. Think clean, confident lines for the muzzle, ears, and the overall shape of the head.
- Emphasize Features: Have fun with it! Give your pup a slightly oversized nose, ears that are extra floppy, or a comically huge tongue hanging out of its mouth.
Once you get comfortable with your style, you can even think about using it for bigger projects. For example, a knack for cartooning is a fantastic starting point if you ever want to learn how to make a webtoon.
Exploring Realistic Shading and Texture
If you find yourself leaning toward a more realistic style, your new best friends are light and shadow. Shading is the magic that turns a flat outline into something that feels three-dimensional and pops right off the page. Before you even make a mark, just figure out where your light source is and imagine where the shadows would naturally fall.
Pro Tip: Start by gently shading the areas that curve away from the light. Think about the space under the jaw, around the sides of the muzzle, and where the ears connect to the head. This simple step alone adds a ton of depth and realism.
Adding the texture of fur is the final piece of the puzzle. The secret is to suggest texture rather than drawing every single hair. Use short, varied pencil strokes that follow the direction the fur actually grows—shorter on the muzzle, and longer around the ears and neck. When you layer these marks, you create a surprisingly convincing illusion of a soft, pettable coat. Thinking about unique art styles also makes for great presents; our guide with some thoughtful gift ideas for dog lovers can spark some inspiration.
We have a huge advantage over artists from the past. For instance, medieval scribes often struggled to create accurate dog drawings because they were working from memory or secondhand descriptions. This historical tidbit highlights how crucial observation is for an artist. Discover more about why early dog art sometimes missed the mark.
Fun Exercises to Make Practice Feel Like Play
Let's be real—the secret to getting good at drawing a dog's head isn't some innate talent. It all comes down to practice. But "practice" can sound an awful lot like a chore, right? The good news is that building your skills can be a ton of fun, especially when you think of it as playtime with a purpose.
First, let's do a simple warm-up. Before you even think about sketching a full-on masterpiece, just grab a blank page and fill it with circles and ovals. All different sizes. This isn't about creating anything recognizable; it's purely about loosening up your hand and getting comfortable with those core shapes.
The 30-Second Dog Head Challenge
Ready for a game? This is one of my favorite ways to sharpen my eye for proportions without overthinking it. It's called the "30-Second Dog Heads" challenge, and it's as simple as it sounds.
Find a bunch of dog photos—scroll through your phone, flip open a book, or do a quick search online. Set a timer for 30 seconds. For each photo, your only job is to quickly sketch the main shapes of the dog's head. Forget the details! Just focus on capturing that main circle for the skull and the blocky or tapered shape for the muzzle. It's a fantastic, zero-pressure way to train your brain to see the basic structure of any dog in an instant.
Our Favorite Tip: The number one rule for this challenge? No erasing! The goal here isn't a perfect drawing. It's about getting your brain and hand to communicate quickly. Embrace the messy, energetic lines—they're proof you're learning.
Tracing Templates for a Confidence Boost
Sometimes, starting with a blank page is the hardest part. That’s why we put together a free downloadable PDF with some simple dog head outlines you can trace or use as a guide. Tracing is an amazing tool for helping your hand internalize the right shapes and proportions.
- Practice with different breeds: The PDF has a variety of head shapes, so you can get a feel for everything from a squishy-faced pug to a sleek German shepherd.
- Build your confidence: Nailing a traced outline can give you that little boost you need to feel ready to try drawing freehand.
- Focus on the details: When the basic shape is already there for you, you can really concentrate on practicing the fun parts, like eyes, noses, and fur texture.
Once you feel good about drawing dog heads, you can keep that creative momentum going and find even more amazing things to draw to boost your creativity. These little exercises are all designed to make sure what you've learned really sticks, turning practice into a habit you'll actually enjoy.
Stumbling Blocks? We’ve All Been There.
As you get the hang of drawing dog heads, you're bound to hit a few snags. That’s totally normal! We all do. Here are some of the most common questions we get from our SetterFrens community, along with some tips I've picked up over the years to help you push through.
"Why Does My Drawing Look So… Flat?"
Ah, the dreaded pancake face. This is probably the #1 issue every artist faces when they start out. The magic ingredient you're looking for is shading.
A little bit of soft shading can completely transform a drawing. Think about adding some shadow under the jawline, on the sides of the muzzle, and right where the ears meet the head. It instantly creates a sense of form.
Always ask yourself: where is the light coming from? The parts of your dog’s head catching the light will be the brightest, while the bits turning away will be darker. This simple play between light and shadow is what gives your art that awesome, three-dimensional pop.
"My Proportions Are All Wrong. What's Going On?"
If your dog's features look a bit wonky, chances are the problem started right at the beginning. It's so tempting to dive right into the fun stuff like the eyes and nose, but you can't skip your homework! Those initial guide shapes—the circle for the cranium and the box for the snout—are your best friends.
My Go-To Tip: Don't be afraid to sketch your guidelines lightly! That vertical centerline is your secret weapon for keeping everything symmetrical, and the horizontal line for the brows makes sure the eyes are level. Trusting this simple "map" from the start will keep things from looking lopsided later.
Also, a classic beginner mistake is placing the eyes way too high. On most dogs, the eyes actually sit about halfway down the face, not up near the top of the head. It feels weird at first, but it makes a huge difference.
"How Can I Make Fur Actually Look Like Fur?"
Drawing fur can feel like a massive challenge, but here's the secret: you don't need to draw every single hair. The goal is to suggest texture, not replicate it perfectly.
Give these tricks a try:
- Mix up your pencil strokes. Use short, quick little flicks for the short hair on the muzzle. For the longer, flowy fur on the ears or neck, use longer, more sweeping lines.
- Go with the flow. Fur has a direction. Take a look at a real dog and see how the fur grows and wraps around their head and face. Your pencil strokes should follow that same direction.
- Build it up in layers. You won't get perfect fur on the first try. Start with a light layer of strokes and then slowly build up darker lines in the shadowy areas. This layering is what creates that soft, deep, and realistic look.
Nailing these few things will help you jump over some of the most common hurdles. Seriously, you’ll see a huge improvement in your drawings. Just remember to have fun with it and keep practicing!
We hope this guide helps you create amazing drawings of your furry friends! At SetterFrens, we're all about celebrating the joy dogs bring into our lives, because we believe life's better with a wagging tail and a good book. Join our Puppicino Club for member perks, and be sure to follow @setterfrens on TikTok and Instagram for heartwarming dog moments. For more book recommendations and helpful guides, be sure to explore more of our content.